Preparedness level: Advanced
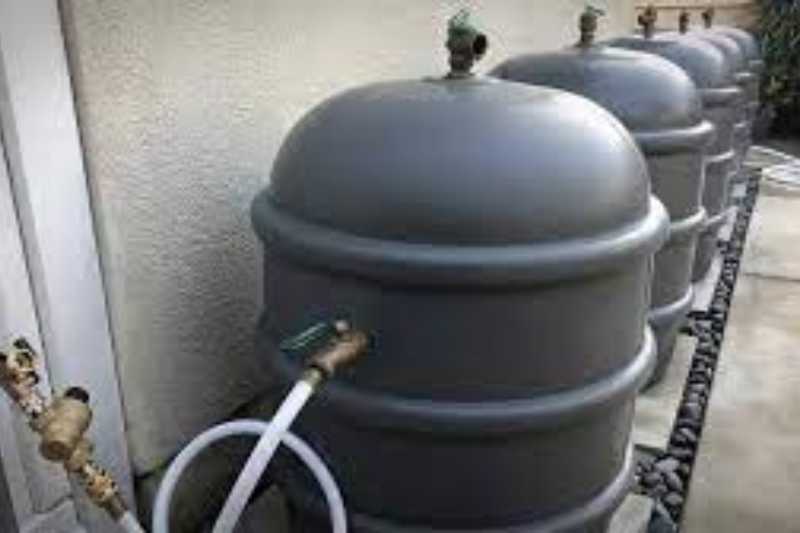
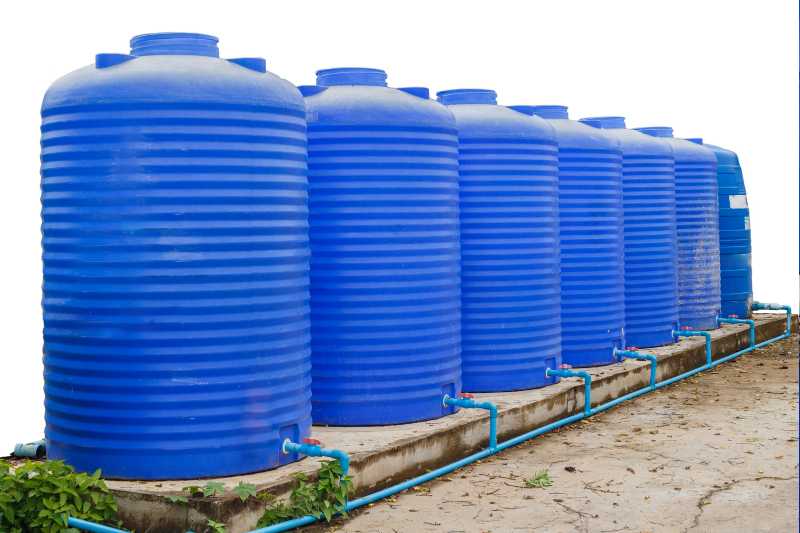
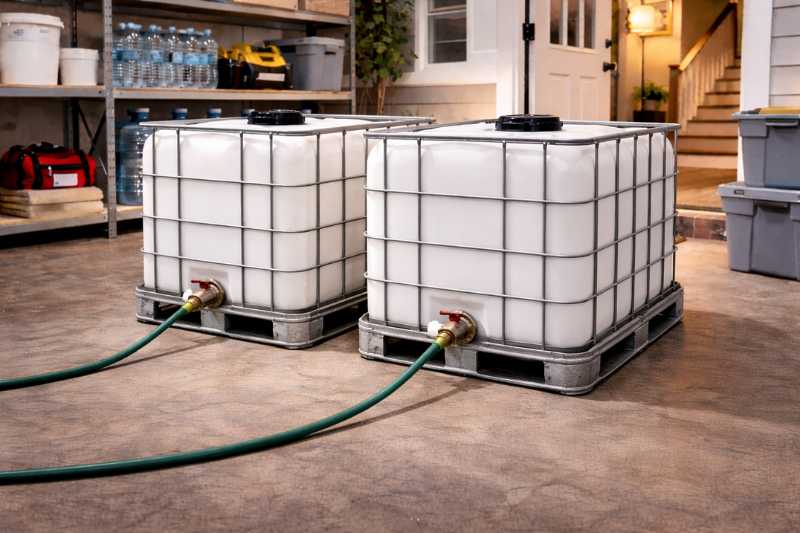
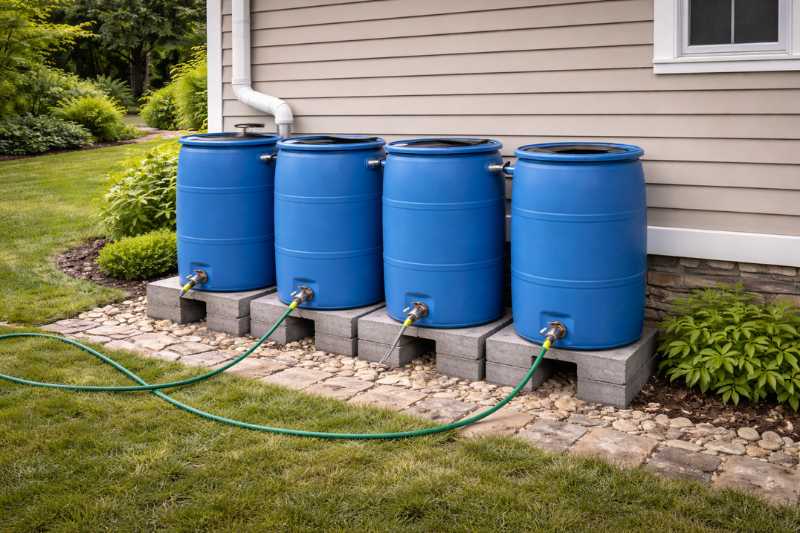
Type: Very high-capacity stationary water storage system
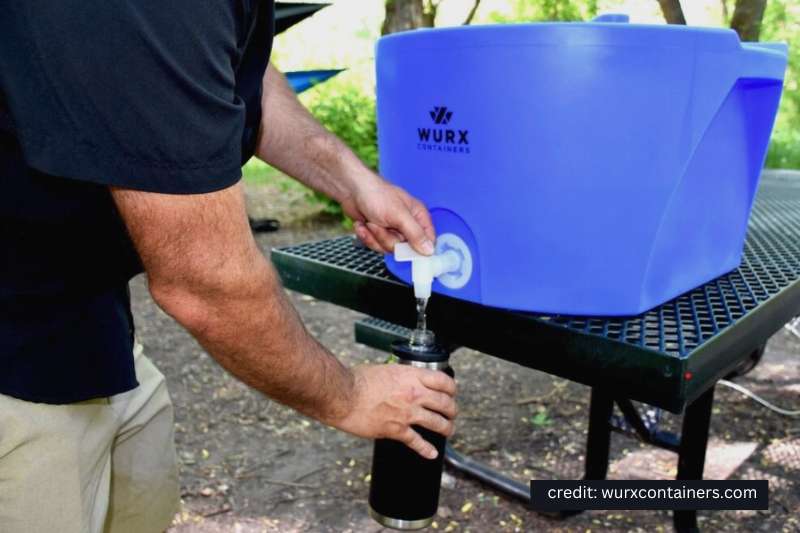
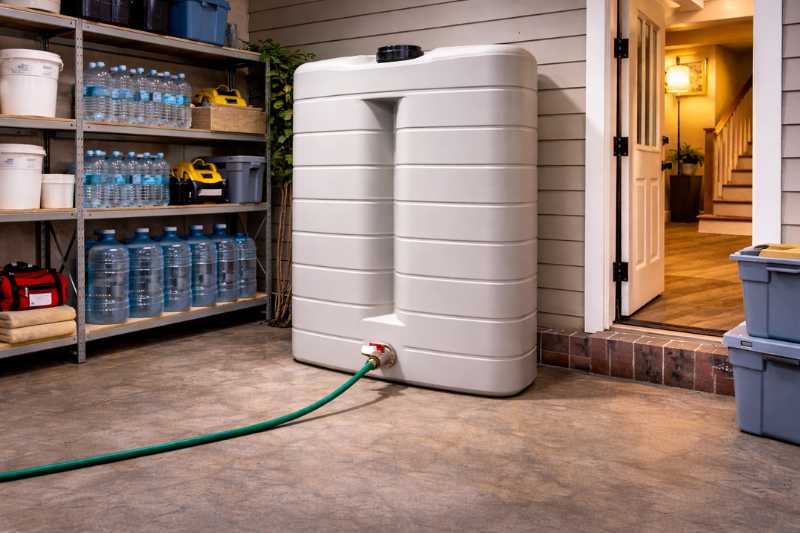
Portable or Stationary: Stationary
Typical Capacity: Varies widely, often from several hundred gallons to many thousands of gallons
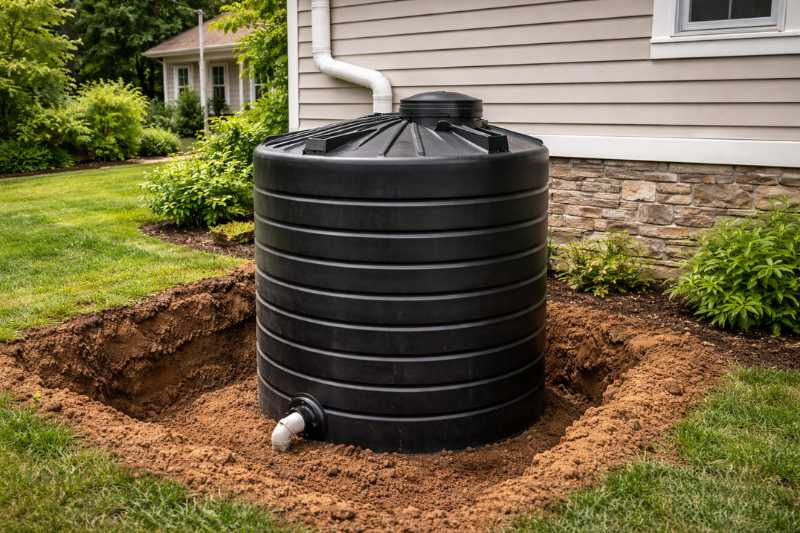
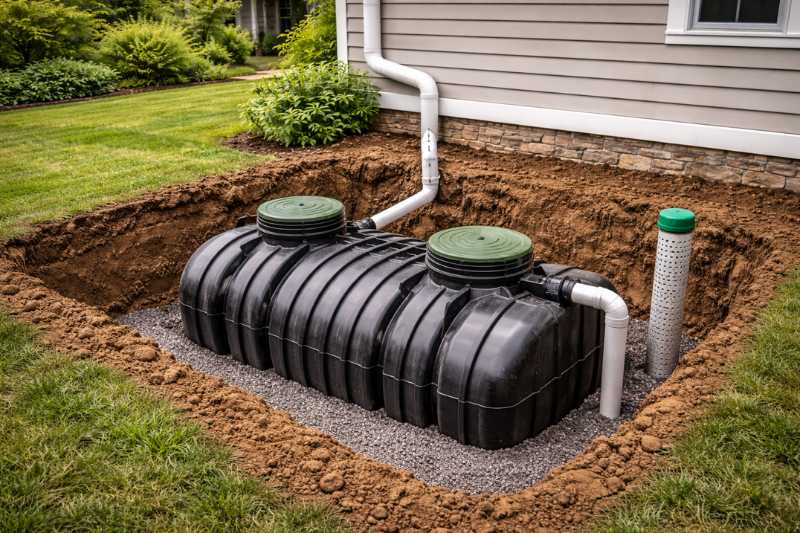
Best Storage Location: Outdoor, partially buried, or underground installation (depending on cistern type, site layout, and system design)
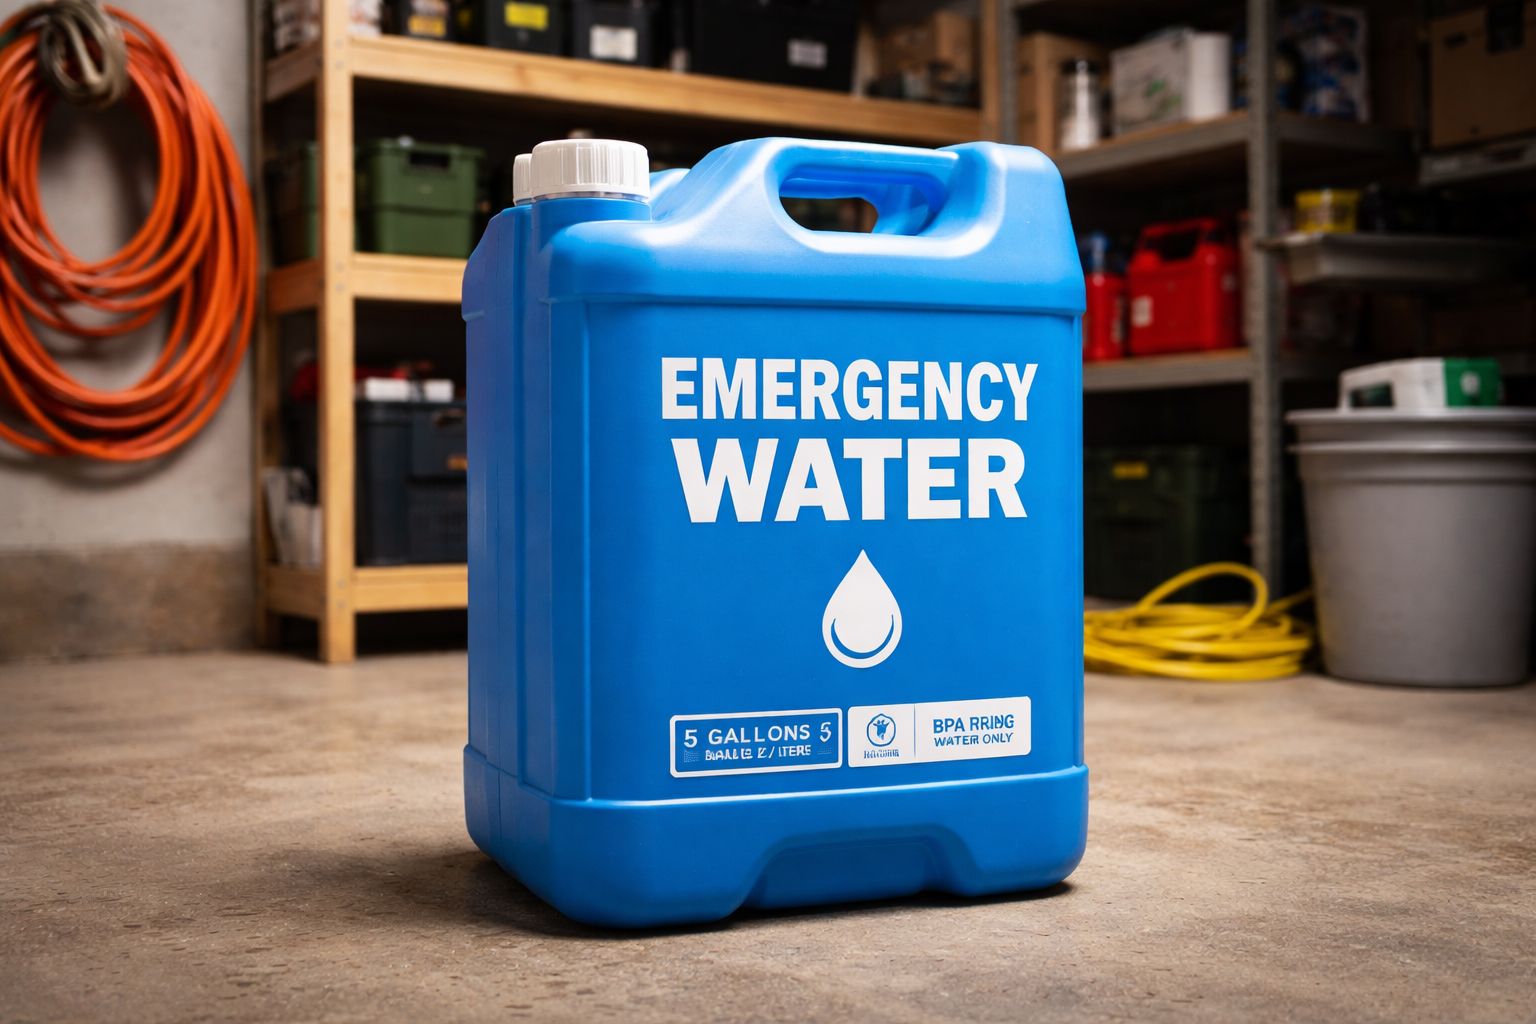
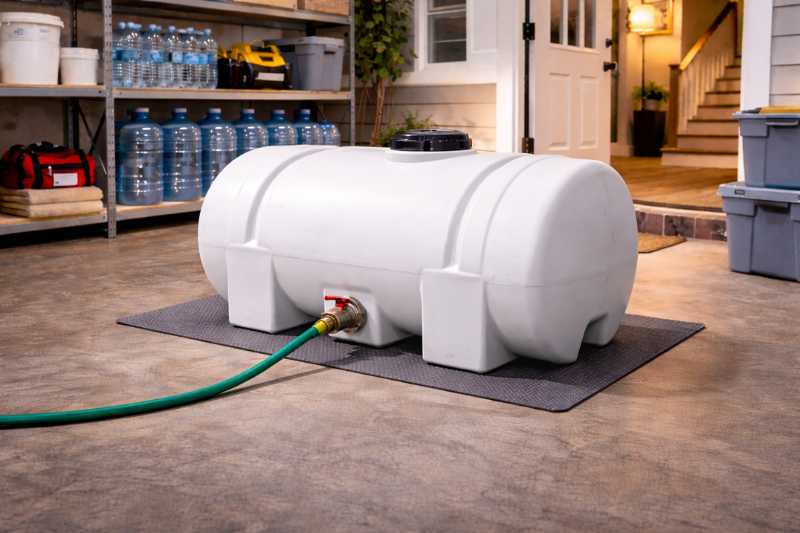
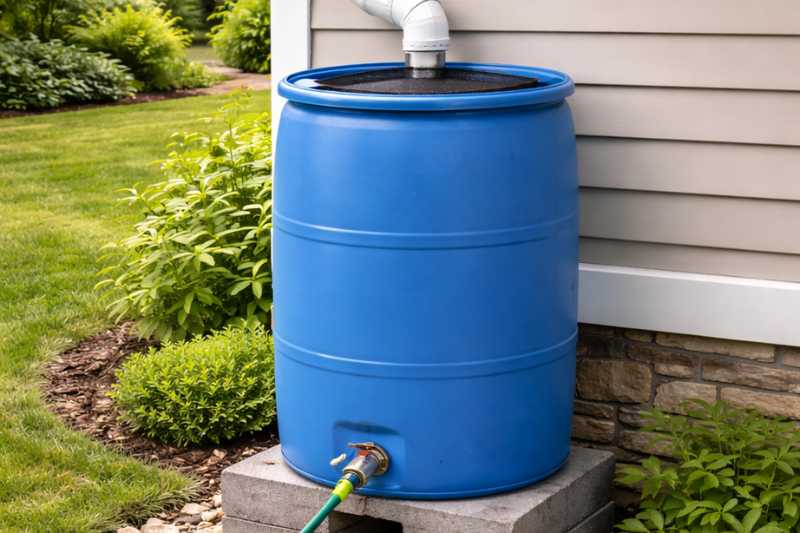
Best for Water Type: Potable or non-potable, depending on source water and treatment setup
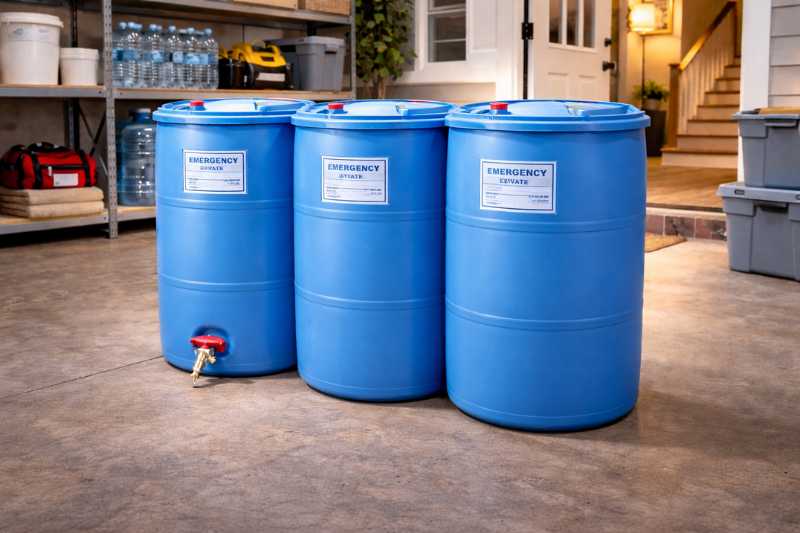
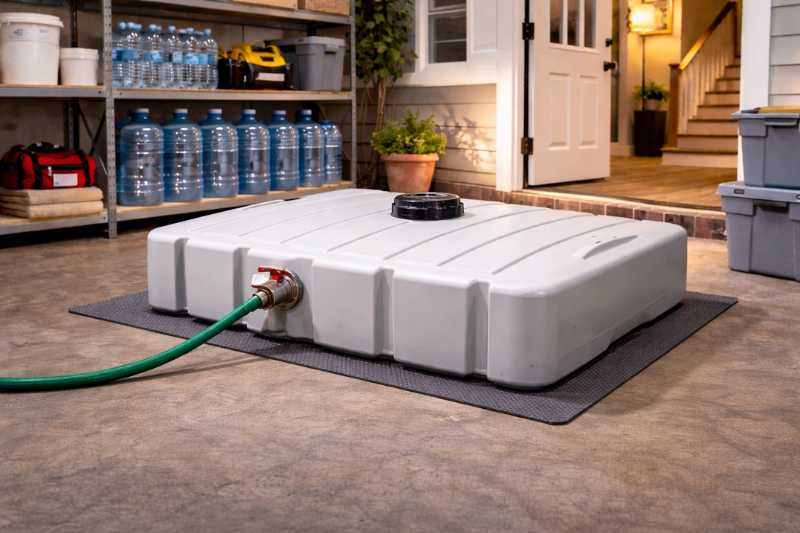
Use Timing: Long-term storage / long-duration reserve
Main strength: Long-duration household reserve with scalable capacity
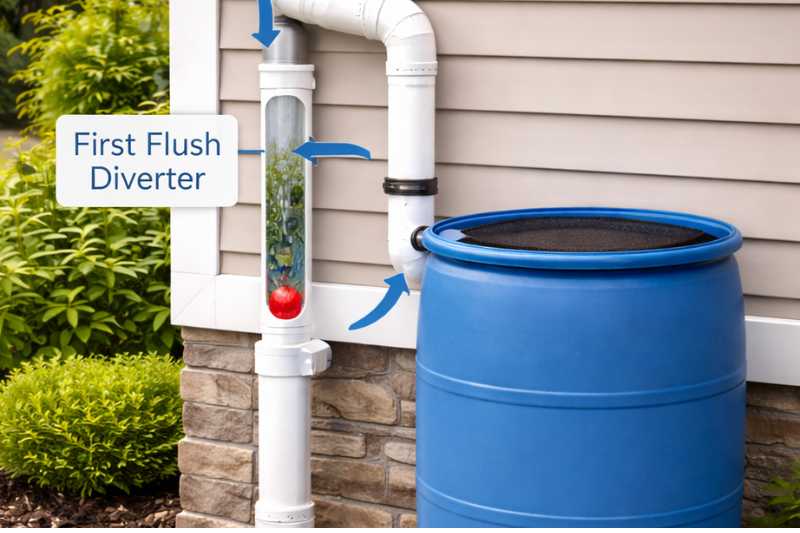
Main tradeoff: Requires real system planning (base/excavation, pump, overflow, venting, treatment, and installation)
Best role in a family plan: Long-term “home reserve” for serious preparedness, larger households, or property-level water backup